The previous post showed some pictures of what the butthold looks like now. What it doesn't show is the months of work involved in getting it back in shape.
The fuel and water tanks were sitting on two teak 2x2's cut into the floor stringers to make a level platform. Under that was a non-accessible area where 25 years of gunk, slim and mystery shit had accumulated.
So out it came along with everything else in the butthold. Rudder included.
More steaming and cleaning until we were down to this.
Shown is the area where the 2x2's were cut into the stringers and limber holes up against the bulkhead. Exposed wood is a NO NO but typical of some of the Taiwanese building practices of the 80's. The copper ribbon running horizontal across the top is part of the original bonding system.
Two more shots of the exposed wood in the stringers.
Luckily the wood in the stringers were solid and not much if any water had intruded into them. Also remember the boat is in the driveway and under cover, so the area was ventilated and left open to dry. I'm talking several weeks to dry. The were all glassed in and the stringers at the stern were glassed to the stern. (Julie got ahead of me with the painting).
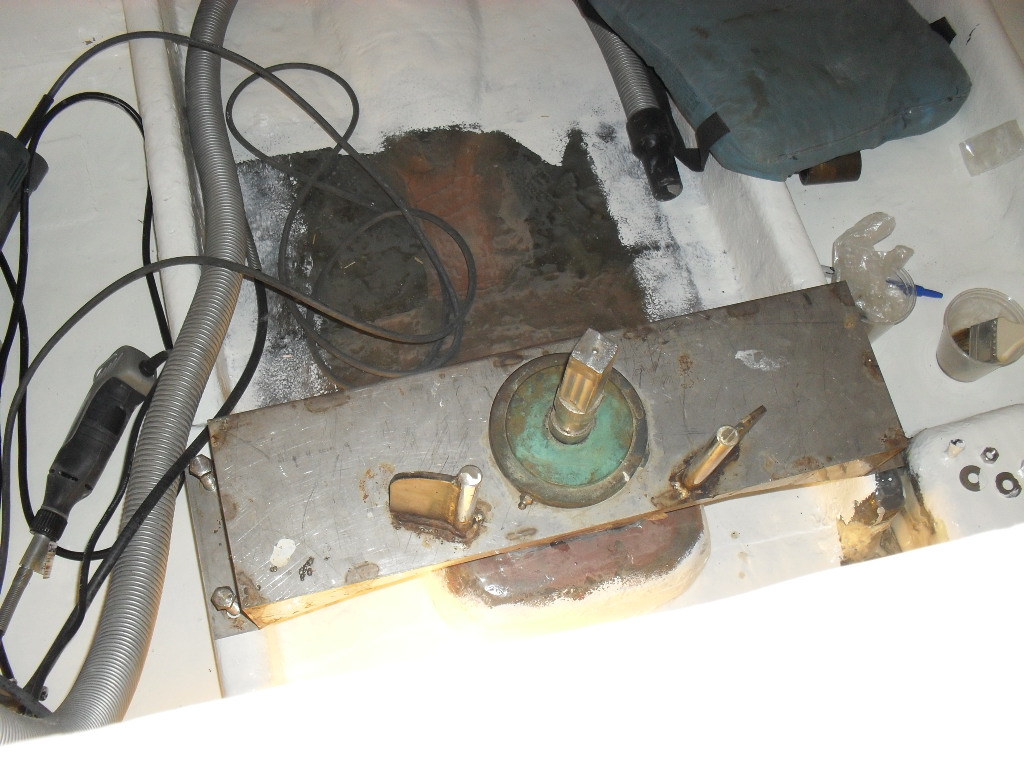
The rudder post was leaking some water around the bearing housing when we bought the boat. Out came the rudder assembly.
The wood block in the top photo was opened up the dry and then rebedded with epoxy to eliminate future water intrusion. Alignment was fun as it required several "put everything back together and then take it back apart" sessions to insure it was all properly aligned.
To eliminate the shit catcher under the fuel water tanks I decided to close in the area and properly rebuild the limber holes for drainage to the bilge forward of the bulkhead. This was done with epoxy coated marine plywood. A two part marine foam was used to fill the void.
Framing in the port side. The hose in the top left is for a temporary scupper drain hose stuffed in the hole where the thru-hull and seacock has been removed.
This stuff is so cool! I love to play with it. Much more dense than the stuff you buy in the can at HD. It was a process of adding a little at a time, watching it grow and then adding more. After raising it to a height above the sides I shaved the excess off with an old butcher knife. Another temporary scupper hose at the top and part of the old bonding system that has been removed and replaced.
The center section was not closed in to allow for drainage forward to the bilge. Limber holes was drilled through bulkhead and stringers to allow water flow. These holes were lined with copper tubing epoxied into the bulkhead and stringers to prevent water intrusion into the wood. More work more fun.